
Gifting season may be over but there’s one last gift we encourage you to give yourself: the gift of easier events, low-stress webinars and a lot less time spent building the same programs over and over!
If you have repeated program types, such as tradeshows, webinars or newsletter emails and you’re building those programs from scratch every time, you’re wasting a lot of effort. If you clone past programs to update, you’re leaving a lot of room for missed updates and other errors. If you have dedicated templates you clone, you’re almost there, but tokenizing those templates will still be a game-changer!
If you’re not already familiar with Marketo tokens, I suggest heading over to the Marketo docs for an overview of the many types of Marketo tokens available. Tokens can be used in almost every aspect of Marketo, from rich-text copy to system date-times, personalized lead information to campaign details. Today, we’ll focus on Member Tokens, custom tokens created in either campaign folders or programs.
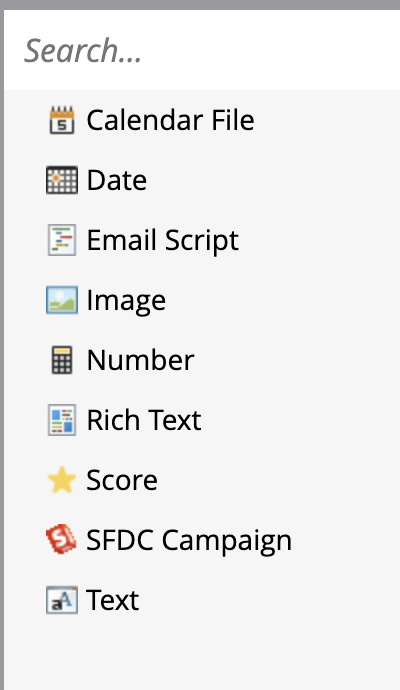
These tokens all start with “my.” such as {{my.Event Name}} and {{my.Webinar Date}}, and can display a variety of types of data from simple or rich text to images, .ics calendar files and more.
Depending on the size of your team, the person creating your marketing content may not be an advanced Marketo-user, if a user at all. But by tokenizing your templates, even Marketo newbies can build a complete program from start to finish without help! And if you’re a small team where the content creator and Marketo user are one in the same, tokenized program templates will dramatically reduce build time and make changes easy.
To get started, consider all the areas of your program template that must be updated. Which ones can be replaced with a token, simple or otherwise? Remember, in addition to simple text, Member Tokens can be rich text, calendar files, images and more.
Here are 5 areas that you can tokenize to create a user-friendly template:
1. Webinar/Event Details –
Let’s start with any copy that occurs
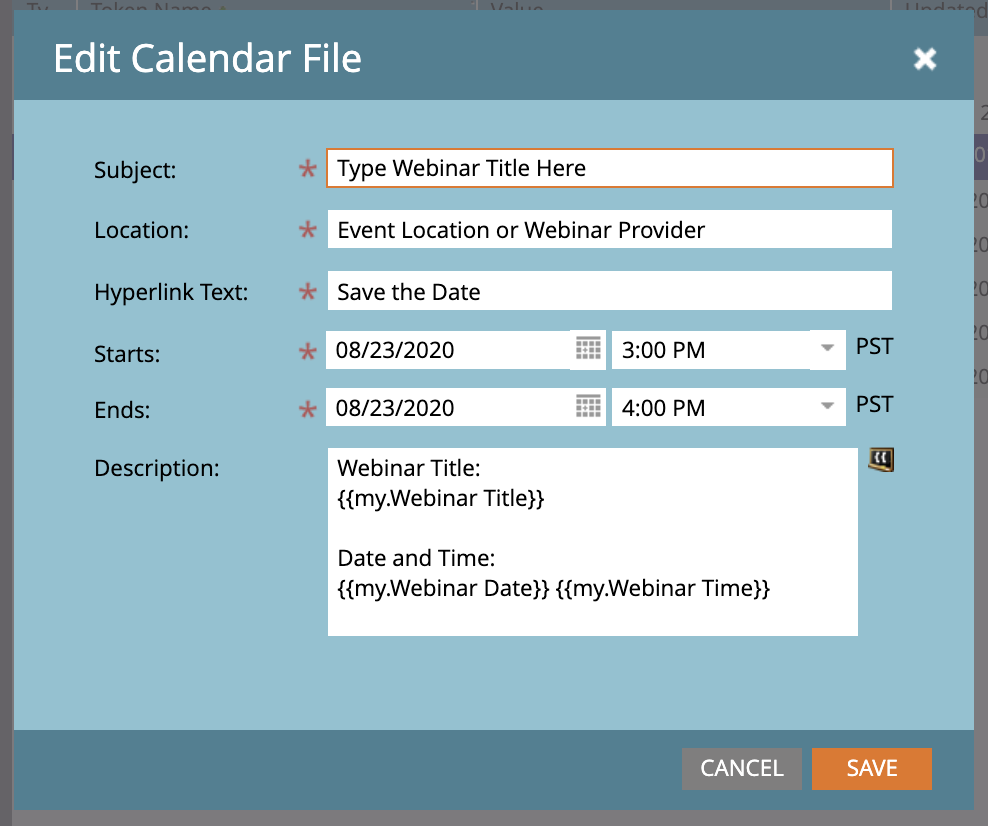
multiple times across the emails and landing pages of a program. By creating simple text tokens {{my.Webinar Time}}, {{my.Webinar Name}}, and {{my. Webinar Date}}, you can guarantee consistency across invitations, confirmations, and reminders. (If you’ve ever had to change an event time in 15 different places, you’ll recognize the value in this immediately.) Let’s take it one step further: use a calendar token type to create a .ics calendar file that contains your tokens for title, date and time!
2. Email subject and sender details –

3. Email and Landing Page Content –
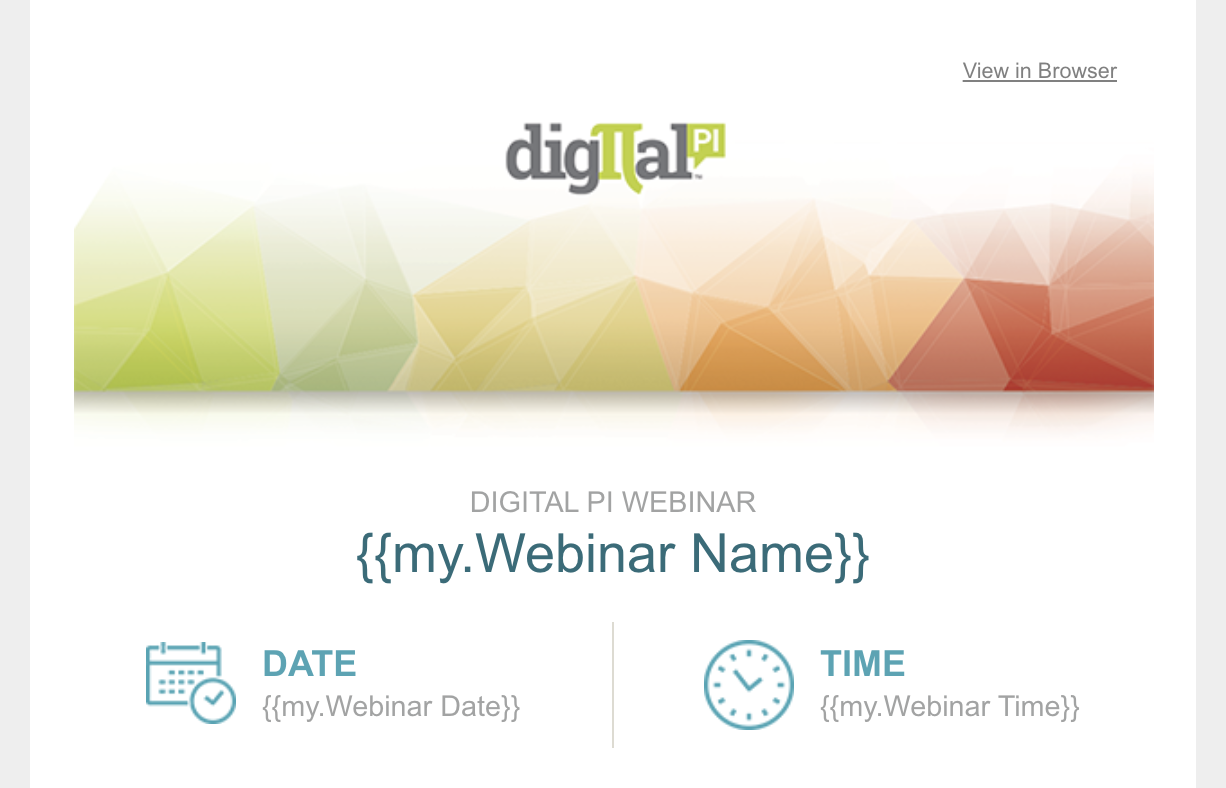
Take advantage of the variety of token types to create easily updated email and landing pages. Unlike the basic Text token, Rich Text tokens include formatting for page layout including line breaks, bold, underline, etc. By formatting the text within the token, you don’t have to edit individual pages. Alternatively, if your templates rely on CSS and styling in various sections, you can create a token for each area, such as {{my.LP 1 Headline}} and {{my.LP 1 Speakers}}. Similar to the email subject line tokens, create a unique token for each email and landing page.
You do not need to create tokens for any text or images that do not need to be updated each time, only the areas that will change.
Often, webinar and event programs employ standard confirmation messages where the only unique values are the name, date and time. Good thing you already made tokens for those values!
And don’t forget–images can be tokenized, too! Banner images are a great place to use image tokens.
4. Links –
he average webinar campaign includes 2-3 invitations with a minimum of two registration links per email. The registration form redirects to a confirmation page, and there’s versions for both live and on-demand registration. Plus there’s follow up emails pointing to the on-demand page. This means there’s at least 10 places to enter the incorrect link (or have to change it later).
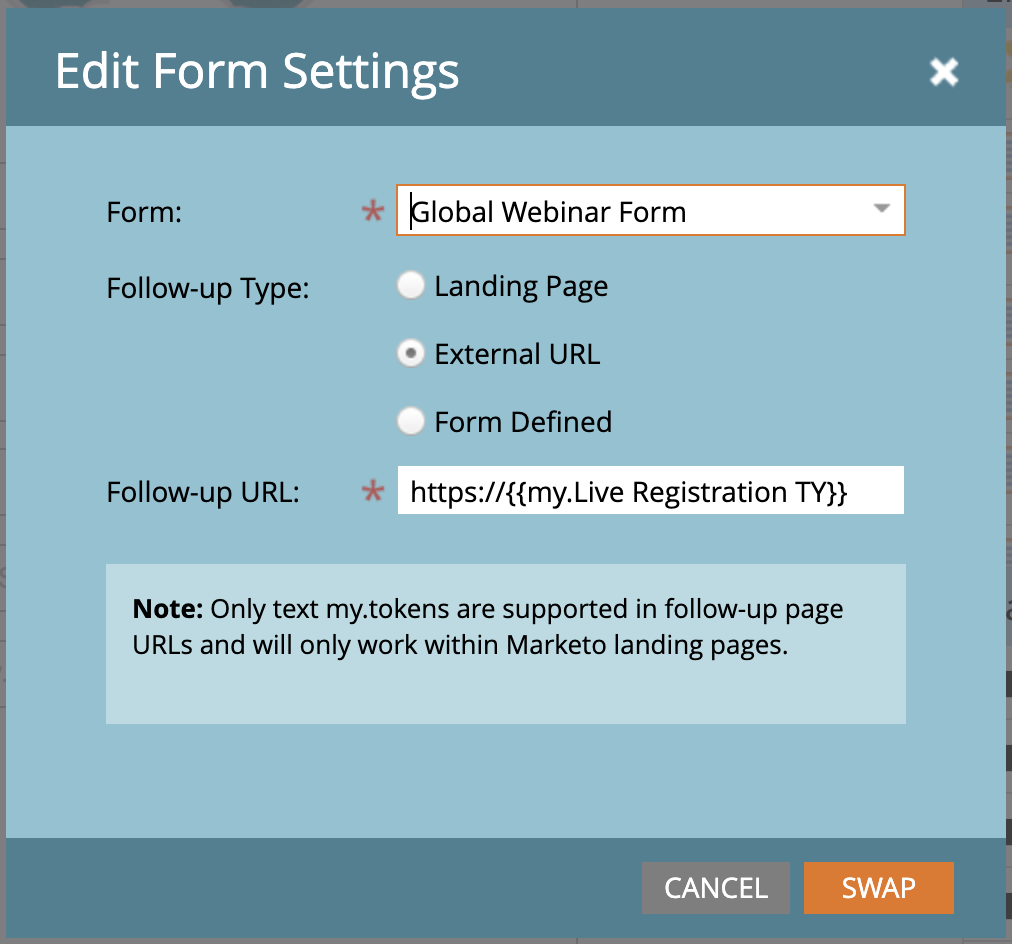
Instead, create a program token for each of your landing pages, such as {{my.LP-Live Registration}}, {{my.LP-Live Confirmation}}, {{my.LP-On Demand Registration}}, {{my.LP-On Demand Confirmation}}, and use these in your emails, landing pages and forms instead.
Assuming you’re using Global Forms (which will make your data cleaner and your life easier), this is a great trick to ensure you never send someone to the wrong confirmation page again! This is an easy area to
miss when updating cloned programs.
Did you realize you can also use tokens to update UTM parameters? For example, place this ink in the first email invitation “https://{{my.LP-Live Registration}}?utm_medium=email&utm_source=dedicated&utm_campaign={{my.UTM Campaign}}&utm_content=1.html” and update the program tokens. For the second email, just change the utm_content to “2” to represent the second email.
Important note: do not include https:// or http:// in the token, but place it in the template instead.
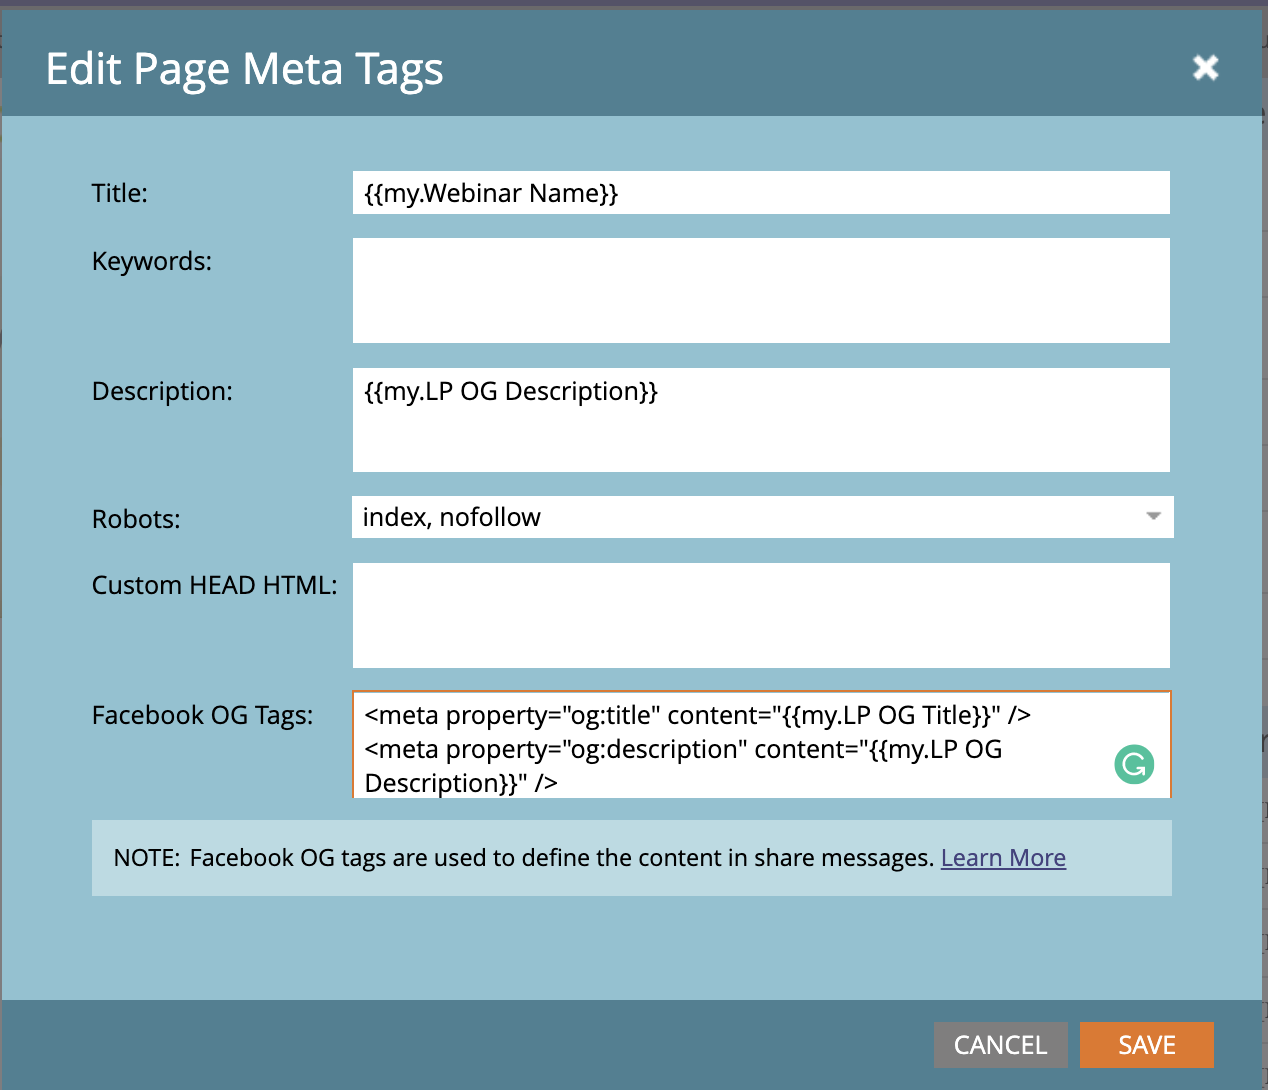
5. Landing Page OG Tags
Are you optimizing your landing pages for SEO and social media sharing? OG tags are essential! And– you guessed it– can be tokenized. This often overlooked area can be generated using simple text tokens for {{my.LP OG Title}}, {{my.LP OG Description}} and {{my.LP OG Image}}, with the image token as a URL to your image hosted in Marketo or elsewhere.
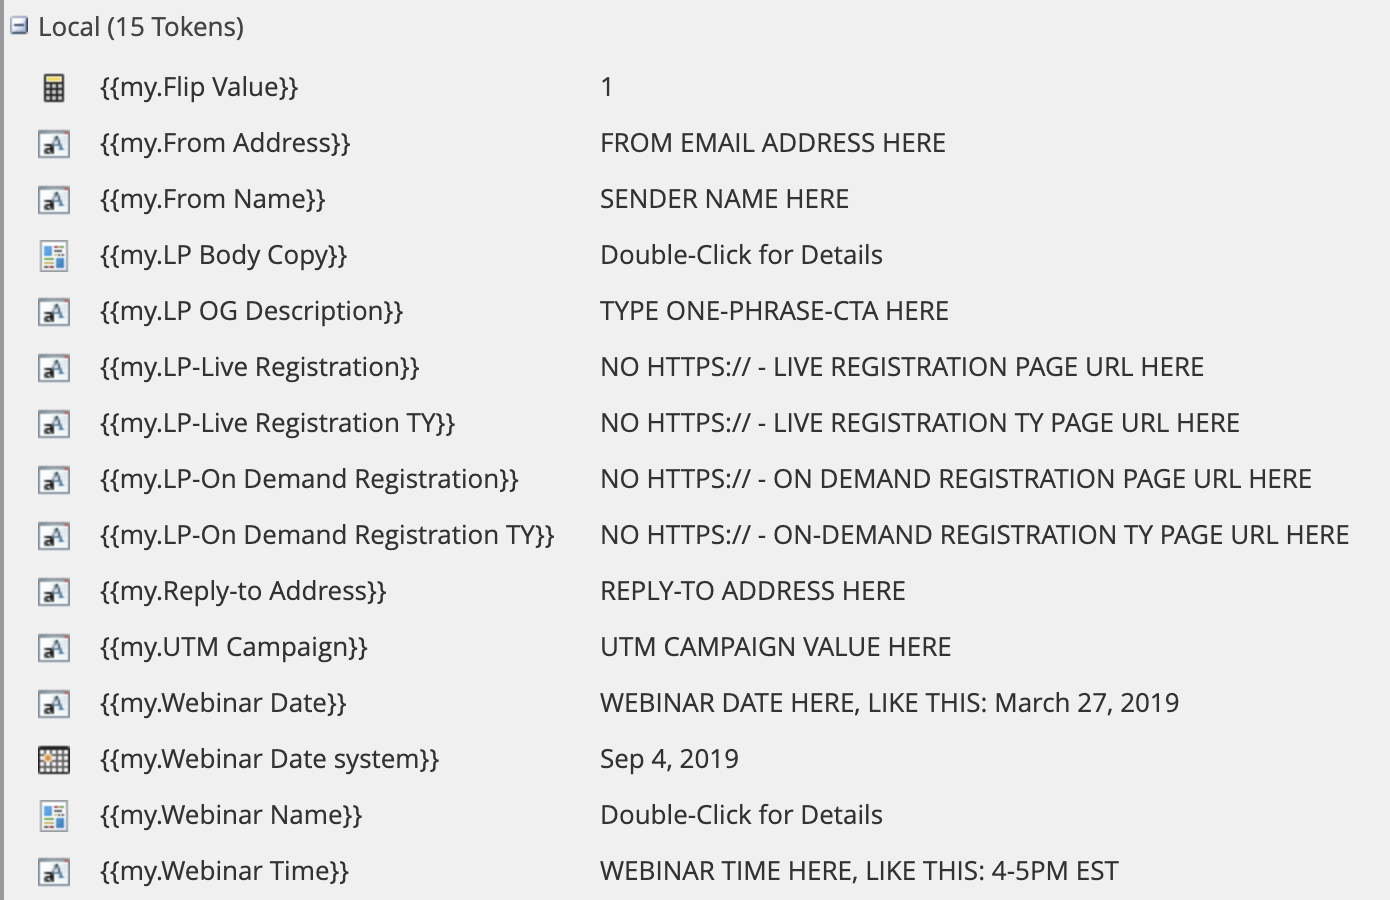
 Hint #1: When creating the tokens for the template, add a short descriptor or instruction into the token value. For example, the value of {{my.LP-Live Registration}} is “NO HTTPS:// – LIVE REGISTRATION PAGE URL HERE.”
Hint #2: if you’re an organizational nerd like me, you’ll notice that Marketo sorts your Member Tokens alphabetically. Be mindful of how your tokens will be grouped when creating the names of your token values. For example, to group the tokens by email, start with the content type followed by the token value type (ex. {{my.Email Invitation 1 Body}}, {{my.Email Invitation 1 Subject}}). Or you can group by token value then content type (ex. {{my.Headline Email 1}}, {{my. Headline LP1 }}, {{my.Headline LP 2}}…). Decide which workflow works best for your team and then be consistent.
If this is your first foray into Marketo tokens, don’t be intimidated; start by using tokens in just one of these areas and you’ll certainly notice a difference. The powerful flexibility of Marketo means tokens can be used in a variety of places and situations, from rich-text copy to campaign flows, system links to interesting moment triggers. We’ve barely scratched the surface here, so let us know in the comments where you like to use tokens or what areas you’d like to further automate.